Others

Uma Musume: Pretty Derby: How To Get A-Rank Trainees
Getting your trainees ready for the URA Finales and other big league races can be tough in Uma Musume: Pretty Derby, especially when starting out with the game while […]

Best Starter to Pick with Free SSR Ticket in Uma Musume: Pretty Derby
Uma Musume: Pretty Derby currently has a free SSR ticket that you can claim right now for fast access to all base game horse girls like Special Week, Tokai […]

Best Uma Musume: Pretty Derby Support Card Tier List 2025
Speed is everything in Uma Musume: Pretty Derby, so you’ll need to make sure your runners are optimized to win every race. Support Cards play a massive role in […]

Complete Peak Achievements List
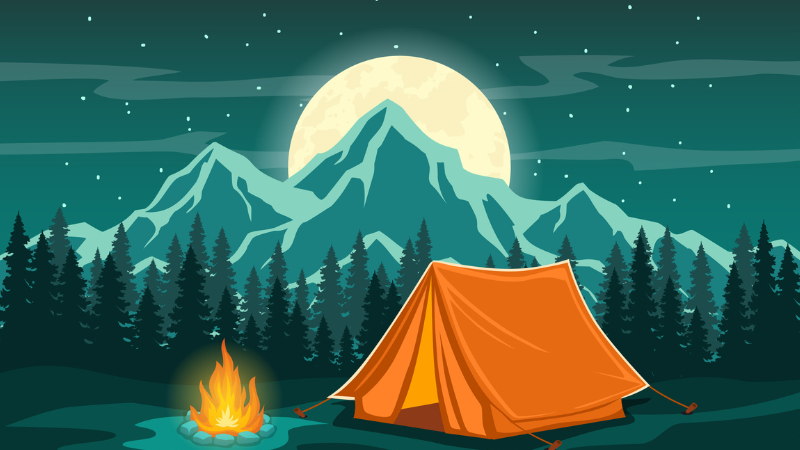
Peak has a full list of achievements requiring co-op play between you and your friends, as well as exploring the mountain from bottom to top. For the completionists out […]

Complete Peak Monsters List
Peak isn’t your typical survival game. It’s a game where you and your friends will also encounter monsters and have to defeat them. The climbing survival game doesn’t have […]
Complete Peak Item List and Effects
Players can obtain various items in their ascent in Peak. Each of these things provides varying effects and is helpful in specific situations. Knowing what each item does will […]

Peak: Should You Open Pandora’s Lunchbox?
Peak is all about survival and gathering materials. Having the right items in your backpack can make or break the survivability of you and your friends. Sometimes, players may […]
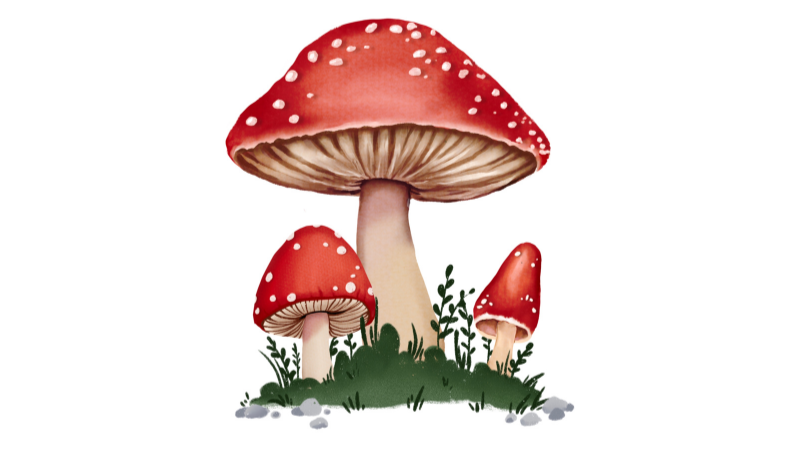
Edible vs Poison Mushrooms in Peak
Your primary Stamina meter is key to making longer and tougher climbs in Peak. As you clamber on a wall, that bar will start draining until you have to […]

All Peak Cosmetics and How to Get Them
Cosmetics are an important aspect of Peak. It makes your character unique while climbing mountains. Unlocking all the costumes and facial features from the game can be challenging, but […]

How to Revive and Heal in Peak
One of your teammates will inevitably get knocked out or even die during your ascent in Peak. The guidebook states that you’ll need to help your friends, so you […]

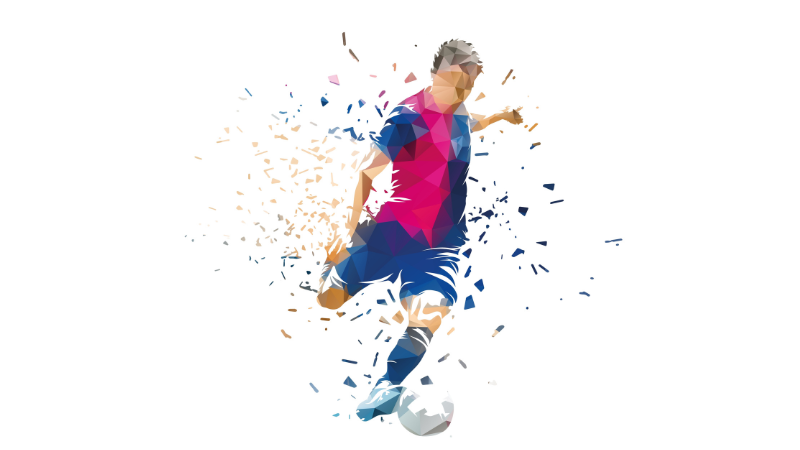
Top 10 Secret Mechanics in Rematch
Sloclap’s Rematch is one of the more unique soccer games to date, with more ball control mechanics, manual shot aiming, and no fouls to break up the flow of […]
All Rematch Achievement List Unlocked
Rematch is shaping up to be one of the most incredible soccer experiences in online gaming, and many players are looking for ways to enjoy it even further. Collecting […]

Rematch Ranked Guide (All Ranks & Ranked Mode Explained)
New soccer game, Rematch, like other multiplayer games, has a Ranked Mode. It allows players to test their skills in a competitive setting as they try to climb up […]
How to Join the Next ARC Raiders Playtest?
ARC Raiders has gained a massive following with its Tech Test 2 from April 30 to May 4. Players tried participating in the playtest after seeing popular streamers showcasing […]

Schedule 1 Faces Copyright Infringement Lawsuit from Another Drug Dealing Simulator Game
Schedule 1 is under investigation for Copyright Infringement from the publishers of Drug Dealer Simulator. Here’s everything you need to know about the ongoing investigation and the possible future […]
Must Have PC Games to Know About
This unique section of our blog is dedicated to some exciting games out there, some that probably don’t get as much attention as they deserve. We believe that when it comes to gaming blogs, the most important things is to deliver highly relevant and helpful information. Info that you can use in-game and one that actually enhances your gaming experience. From guides, tips, to hot new game reviews, there’s something for every gaming fan under our Must Have PC Games section!
Here is where you’ll stumble across practical advice and detailed reviews of various games, such as Overwatch, Minecraft, Star Trek Online, Counter-Strike: Global Offensive, Hearthstone and much more. You’ll be literally swimming in a sea of practical and easy-to-apply gaming tips, insights and tricks, in addition to analysis of different titles.
If you’re looking for relevant and honest gaming blogs that are in line with trends, then look no further than our official Must Have PC Games blog section! Regardless if you’re looking for a specific piece of advice, or if you’re trying to get the latest info about Upcoming games and cool titles, then you might find it here. We always strive to deliver cool gaming articles. Also, we want you to have the most optimal advice at your disposal.