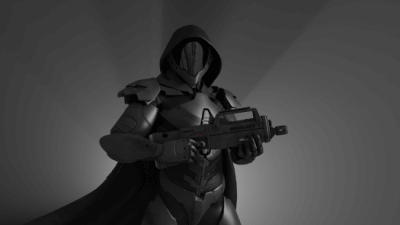
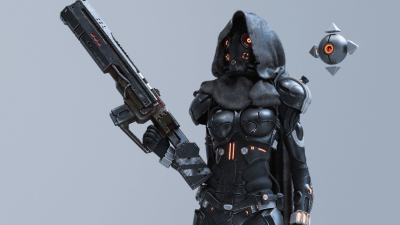
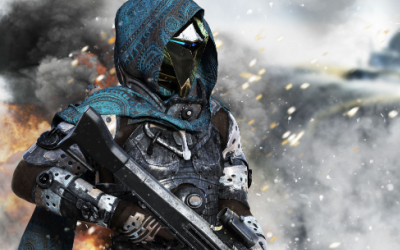
Destiny 2: Season of the Lost weekly Campaign Activity

Bungie Retiring Destiny 2 Legendary Gear
By | September 10th, 2021 | Categories: Destiny

With the Witch Queen Expansion set to be released on February 22nd of 2022, we now mark the return of Queen Mara Sov in Season 15 (Season of the Lost). As there has yet to be an official roadmap provided by Bungie, there are already plenty of goodies awaiting for us this season.

Aside from the fresh Season Pass, seasonal artifact, and a new 6-man Seasonal Activity (Astral Alignment) to take part in, expect things to be ultimately leading up to the events of the upcoming expansion, Witch Queen. So, “eyes up, guardian”, this is it and this guide will provide you with what you need to know and how to complete the weekly campaign activity in preparation for the upcoming time-gated mission next week.

SPOILER ALERT:

The guide will be revealing some plot details, so we suggest reading it piece-by-piece.

Step 1: Mission Cocoon

Once you login to Destiny 2 and load your desired character, the first step in the Season of the Lost is the quest, Mission Cocoon. After the short cutscene, players will automatically be loaded in where Saint-14 will direct you in assisting him to find Osiris and learn the truth behind his actions from the previous season. There you will battle with the Hive and proceed to enter the Ascendant Realm where you will also be encountering Taken. Once completed, you will then meet with Mara Sov regarding the seasonal artifact that is ready to claim, the Wayfinder’s Compass.

Step 2: Travel to the H.E.L.M.

Once you land, you will then speak with Mara Sov, then you’ll need to go back to the H.E.L.M. and go to the new area located on the lower right-hand side. Here, you will need to calibrate the Wayfinder’s Compass. During the initial calibration, you will most likely only have access to two upgrades: Barrier Reach and Astral Efficiency, and this is due to the amount of Parallax Trajectory you have. It goes without saying: you should have Parallax Trajectory to unlock the upgrades; 150 for the first and 400 for the second. Keep in mind that 1,500 is the max carry limit for the Parallax Trajectory currency so make sure to use them on Umbral Engrams or further artifact upgrades to make sure you are constantly earning the currency.

Important: There is a possible bug that upon returning to the Wayfinder’s Compass stand, the quest won’t proceed as normal. A good fix to this is to cancel the quest (don’t worry, the game keeps track of your quest’s step-by-step progress), then earn the quest again via the same Wayfinder’s Compass stand by clicking on the quest icon below its menu.

Step 3:  Speak with Petra Venj

Speak to Petra Venj through a terminal in the H.E.L.M., located next to the Wayfinder’s Compass; the dialogue should start automatically. After that, don’t forget to grab those sweet bounties from the Wayfinder’s Compass calibration stand before you continue. The next step is where things get interesting.

Step 4: Complete Astral Alignment

The Season of the Lost activity’s new “gimmick” and activity is the Astral Alignment, and the quest line requires you to do one full run to progress; think of it as a sample run. The activity is an ingenious combination of the Blind Well and last season’s Override activity. You may use a rally flag in the beginning of each phase if needed. Defend the beacons and slam dunk batteries to charge up a progression bar which will be shown on the left side of the screen to indicate how much more is needed before entering the next phase of the activity.

Upon dunking the required amount of batteries, this will then remove those pesky immunity shields from the huge Lost Knights roaming the field. The final phase of the activity requires you to defeat a considerably good amount of enemies in the Blind Well and use the Taken Essence buff to remove the shield from the massive ogre boss.

Step 5: Travel back to the H.E.L.M.

Once you have successfully completed the activity, travel back to the H.E.L.M and interact with the Wayfinder’s Compass once more.

Step 6: Travel to Trostland in the EDZ

You should now be off, back to good ole Trostland to collect the required amount of Parallax Trajectory. An Ascendant Anchor will be obtainable as soon as you land; simply look for the purple beam of light from the object. Approach those and press the button prompt to get the Parallax Trajectory. Continue searching the area for more Ascendant Anchors until this step is completed.

Step 7: Enter the Shattered Realm

Now that you have collected some Parallax Trajectory, you’ll be able to enter the Shattered Realm to find the Techeun, one of Mara Sov’s advisors. Launch the activity by going to the area where you can now conveniently access the Shattered Realm from the H.E.L.M. — simply by walking through the portal. Once inside the Shattered Realm, you must activate beacons while defending them from waves of Taken. One of the beacons is located down inside a small chapel. Another one can be found up in the cliffs to the right. Most of them are fairly easy to discover simply by looking at the sky and searching for the beam of light.

Last but not least, you will now need to align those beacons. Head back down the cliff and you should now see a black Taken portal open for you to jump through which will teleport you to the last beacon. Once you Interact with the beacon, the corrupted Techeun will spawn in. Defeat the Hoarfrost Acolytes that also spawn to lower her shields. She will then start to teleport around the area after you have dealt enough damage to her health. When she’s defeated, you can then interact with the waypoint marked onscreen to free her and complete this step.

Step 8: Upgrade Wayfinder’s Compass

Travel back to the H.E.L.M and purchase the Barrier Breach upgrade for the Wayfinder’s Compass. These upgrades will now allow you to pass through the barriers located throughout the Shattered Realm.

Step 9: Speak with Savathûn

Step through the portal located in the HELM to go to Mara Sov’s room then proceed to the statue just past Mara Sov. Listen to what Savathûn has to say and then continue to the next step after the cutscene.

Step 10: Speak with Ikora Rey

Travel to the tower and speak with Ikora Rey located in the Bazaar. Congratulations — you now have completed the final step for this week’s Season of the Lost – Wayfinder’s Voyage questline.

Come watch me play on Twitch

Leave A Comment

Latest posts

Latest Wiki

Featured Posts