OSRS Quests
Desert Treasure OSRS Quest Guide, Requirements & Rewards 2022
In your many journeys throughout Gielinor, you may well have heard of the most highly-regarded quests available to RuneScape players. In Desert Treasure OSRS, players will embark on an […]

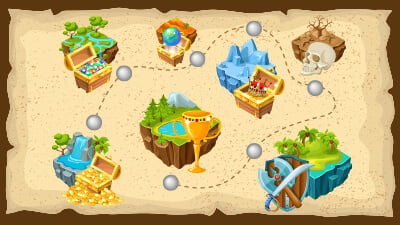
X Marks the Spot OSRS – Quest Guide, Requirements, and Rewards
The X Marks the Spot OSRS quest is an introductory quest for the Great Kourend series. This is a quest that will ease you into the series, and is […]
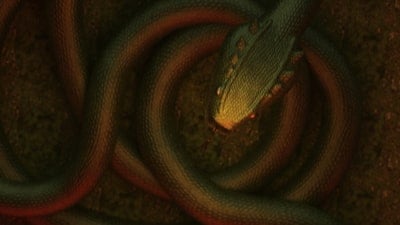
Depths of Despair OSRS Quest Guide, Requirements, and Rewards
If you’ve been looking to take in a short quest, then The Depths of Despair OSRS quest is one for you. This serves as a sequel to the Client […]

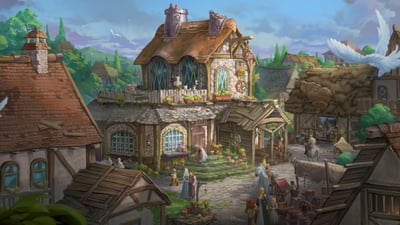
A Kingdom Divided OSRS Quest Guide and Rewards
A brand new quest has arrived in Old School RuneScape. The ‘A Kingdom Divided’ OSRS quest sees players investigating corruption within the Kourend Council. The following guide will help […]

King’s Ransom OSRS Quest Guide, Requirements, and Rewards
The King’s Ransom OSRS quest is the last quest in the Camelot series, in which players are tasked with unveiling the plot made by Morgan le Faye and the […]
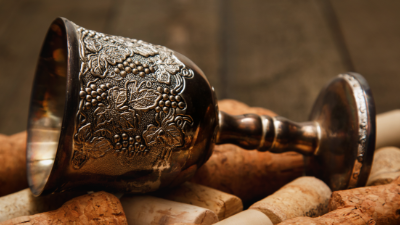
Holy Grail OSRS Quest Guide, Rewards, and Easiest Method
The Holy Grail OSRS quest serves as the second entry in the Camelot quest series, in which you need to help King Arthur locate the holy grail. The following […]
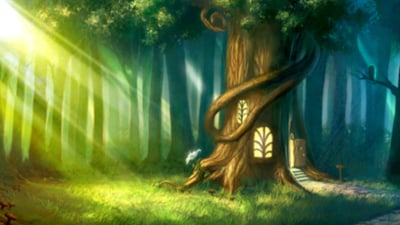
The Grand Tree OSRS Quest Guide
The Grand Tree OSRS quest is one that takes players on a journey to help save the gnome population of the game by uncovering why the tree is dying. […]
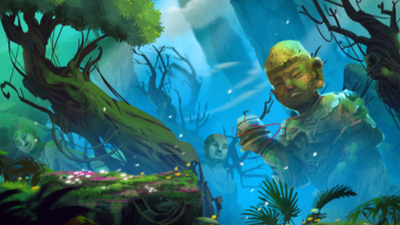
Monkey Madness 2 OSRS Guide
The Monkey Madness 2 OSRS quest is a lengthy one, in which you will be continuing on from the previous Monkey Madness quest. Now Glough has gone missing, with […]

Monkey Madness Part 1 OSRS Quest Guide
The Monkey Madness Part 1 OSRS quest is a long quest of master difficulty, taking part in the Gnome OSRS quests series. It also serves as the sequel to […]

OSRS Fairy Tale Part 2 – Cure of a Queen Quest Guide
The OSRS Fairy Tale Part 2 quest continues the story of the Fairy Queen and the strange goings on in Zanaris. The Fairy Godfather has yet to leave the […]
OSRS Fairy Tale Part 1 – Growing Pains Quest Guide
The OSRS Fairy Tale Part 1 ‘Growing Pains’ quest sees players investigating troubles that have been facing farmers in RuneScape as of late. With not as much yield coming […]
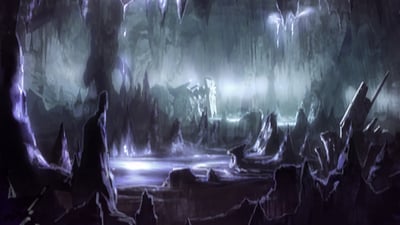
Underground Pass OSRS Quest Guide
Serving as the third quest of the Elf series, the Underground Pass OSRS quest takes you on a long journey through the dungeon found near Ardougne. Your mission will […]
The Fremennik Trials OSRS Quest Guide
If you are looking to attempt the Fremennik Trials in OSRS, a quest in which you are looking to become an honorary member of the Fremennik people of Relleka, […]
Shield of Arrav OSRS Quest Guide
The Shield of Arrav OSRS quest sees players learning of a stolen shield from the museum of Varrock. You will be tasked with tracking the shield down and returning […]
Sins of the Father OSRS Quest Guide
The Sins of the Father OSRS quest has recently been added to the game, and presents a lengthy and difficult adventure for those who choose to attempt it. Following […]
Everything you need to know about Old School RuneScape quests to finish them with ease, from requirements and a step-by-step guide, to quest rewards.